
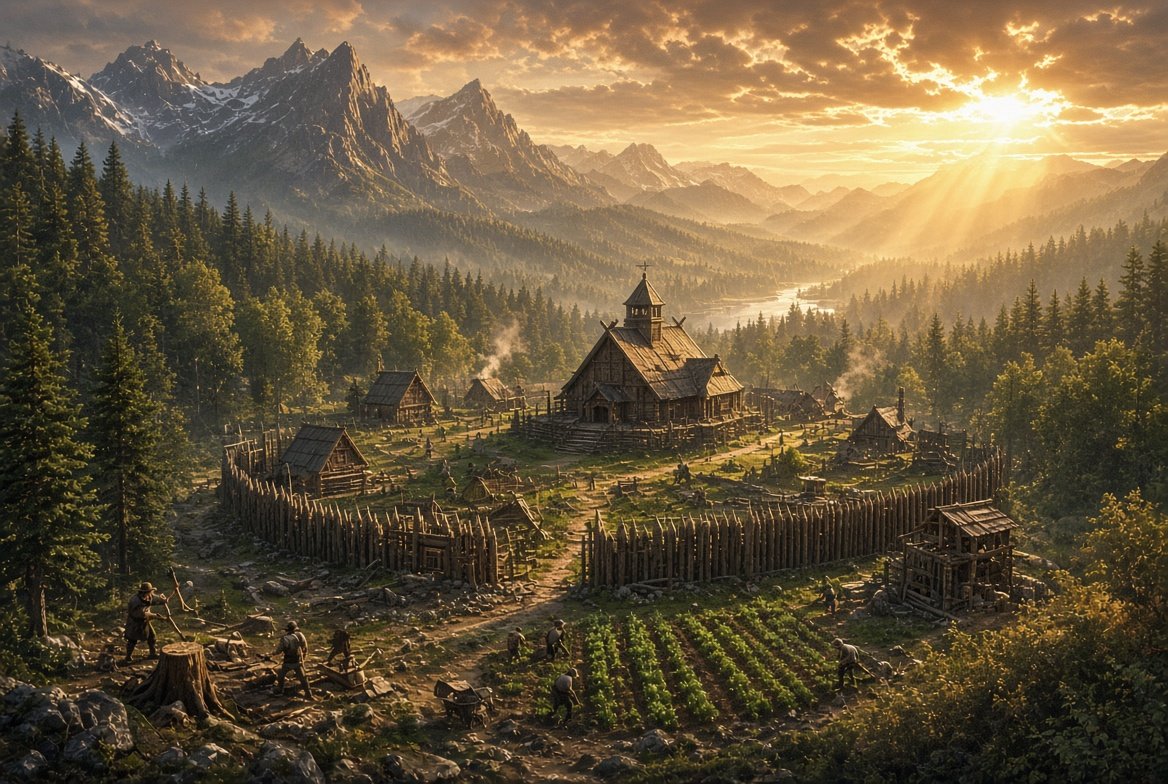
What Kind of Game Is Farthest Frontier
Farthest Frontier sits somewhere between colony survival and city builder, and that hybrid nature is exactly what trips up new players. If you come in expecting something like Cities: Skylines where the systems ease you in, you're going to get destroyed. If you come in expecting pure survival where brute-force scavenging carries you, you'll hit a wall around year three when your soil is depleted and your villagers are dying of dysentery.
The pacing is deliberate. Slow, even. Every decision has a delayed consequence, and the game doesn't always tell you when you've made a bad one. That's not a flaw — it's the whole point.
The early game is genuinely brutal. Food, firewood, and clean water will kill your first colony if you don't respect them, and sometimes they'll kill it even if you do. Expect to restart at least once.
One more thing worth knowing: the game is still in early access. That affects how you read guides, including this one. Balance patches have shifted things meaningfully across updates — crop yields, raid timing, building costs. The core systems are stable enough to learn from, but specific numbers may not match your current build exactly.
Choosing Your Starting Map and Difficulty
The map generation in Farthest Frontier isn't just cosmetic — terrain directly determines your survival strategy. River access speeds up fishing and irrigation; dense forest slows expansion but cushions early firewood demands; flat open maps push you toward farming faster but leave you exposed on multiple fronts. Climate zone affects growing season length, which in early game is often the difference between a comfortable winter and mass starvation.
Difficulty settings change specific mechanical values, not just a vague "challenge" slider. Lower tiers give you more starting food and resources, lighter raid pressure, and a longer grace period before the game starts testing your supply chains. Challenging mode compresses that window significantly and raids arrive harder and earlier.
| Tier | Starting Resources | Food Pressure | Raid Frequency |
|---|---|---|---|
| Villager | Generous | Low | Rare early on |
| Settler | Moderate | Moderate | Occasional |
| Challenging | Minimal | High | Frequent, escalating fast |
New players tend to underestimate how much starting resources matter — running short on tools in month two cascades badly. Start on Villager if you want to learn systems without firefighting constantly. Experienced city builder players can usually jump to Settler without much friction.
Surviving the First Year: Priority Order That Actually Works
Your first placement should be a Town Center near fresh water, with a Forager's Hut and a Woodcutter's Hut going up immediately after. Before you think about housing, before you think about farms, you need food coming in and wood being cut. Those two things buy you time for everything else.
The most common new-player mistake is sprawl. You see open land and start placing buildings across it, then winter hits and you have twelve half-fed villagers and no firewood reserve. Keep your footprint tight in year one.
On the forager-versus-farm debate: foragers win in year one almost every time. They produce immediately, require no soil prep, and free up labor you don't have yet. Farms make sense if you spawned somewhere with poor foraging density or you're pushing for a faster Tier 2 — otherwise, wait until year two when you have the hands to actually work them.
Year 1 Survival Checklist
- Housing for your starting villagers (not more)
- Forager's Hut and Hunter's Cabin for food
- Woodcutter's Hut with enough forest access
- Well placed near your cluster of buildings
- Root Cellar before harvest season ends
Food Systems Explained
Foragers, hunters, and fishers will carry you through year one, but they hit a ceiling fast. Once your population climbs past 20 or so, wild food sources stop scaling with demand and you need cultivated crops in the ground before that gap opens up, not after.
The mechanic most players ignore early is soil fertility. Every crop you plant draws nutrients from the soil, and if you keep planting the same field with the same crop, yields drop noticeably within a few seasons. Rotating crops, or letting fields lie fallow, keeps fertility from bottoming out. It's a slow-burn problem, which is exactly why it blindsides people.
Food storage is the other one. Root cellars preserve food through winter; without them, whatever surplus you stockpiled in autumn rots before spring. Mid-game food crises are usually a spoilage problem disguised as a production problem.
| Crop | Season | Relative Yield | Soil Impact | Management Difficulty |
|---|---|---|---|---|
| Wheat | Summer | High | Heavy | Low |
| Rye | Spring/Fall | Medium | Moderate | Low |
| Cabbage | Fall | Medium | Light | Low |
| Turnips | Spring | Low | Light | Very Low |
| Pumpkin | Summer | High | Heavy | Medium |
Managing the Villager Needs System
Your villagers track four core needs: happiness, health, entertainment, and faith. These aren't independent meters — low health drags happiness down, and unhappy villagers are more likely to leave, which compounds every other problem you're already dealing with.
Population growth kicks in when needs are consistently met above a certain threshold. Decline happens fast when they're not, and villagers leaving takes your workforce with them at the worst possible time.
The key thing most players miss is that you're not optimizing for perfect scores. You're optimizing for stability. A colony humming along at 60–70% satisfaction across the board will grow steadily. Chasing 100% is expensive and largely pointless early on.
Prioritization shifts as you scale. Under 50 villagers, food and warmth are what actually move the needle — entertainment and faith can wait. Once you're pushing past 100, those secondary needs start mattering more, because your population is large enough that satisfaction dips create visible ripple effects on growth rate. Build the tavern and chapel when your food and wood supply are genuinely secure, not before.
Defending Against Raids
Raiders don't follow a fixed schedule — threat level climbs based on your colony's wealth score, which factors in population, buildings, and stored resources. The more you grow, the more dangerous the attacks become. There's no ceiling on that escalation.
For walls, the instinct to ring your entire settlement is almost always wrong in the early game. You can't afford it, and the perimeter becomes unmanageable anyway. Prioritize walling your food storage, well, and a cluster of housing. Let the outer buildings sit exposed if you have to.
Towers extend your guards' effective range significantly, and pairing even two guards with a tower near your main gate handles most early raids without burning villager time on full-time soldiers. A rough benchmark that works: one soldier per 15–20 villagers through the mid-game, scaling up as raids intensify.
The reactive approach — build walls when raids start hurting — is viable for small colonies but punishing past around 60 villagers. At that size, you've accumulated enough wealth to attract serious attacks, and scrambling to build defenses mid-raid is a fast way to lose storage buildings you can't quickly replace.
Progressing Through Tiers: When to Upgrade, When to Wait
Farthest Frontier has four tiers, and each one opens up new buildings, production chains, and population capacity. Advancing costs a mix of gold, specific refined materials, and a minimum population threshold — the exact requirements tick up sharply between Tier 2 and Tier 3.
The trap most players fall into is treating tier advancement as progress rather than as a multiplier on whatever systems they already have running. Push to Tier 2 before your food storage and firewood stockpiles are solid, and the new buildings you unlock will just sit unworked because your laborers are fighting fires elsewhere.
Each tier also has a characteristic bottleneck. Tier 2 stalls on planks and clay buildings. Tier 3 grinds to a halt without a working iron production chain. Tier 4 demands stone masonry at scale, which requires dedicated quarry workers most colonies have been pulling for other jobs.
| Tier | Key Unlock | Primary Blocker |
|---|---|---|
| 2 | Markets, clinics | Plank supply, clay |
| 3 | Iron tools, advanced housing | Iron ore, smithy labor |
| 4 | Stone buildings, military upgrades | Quarried stone, mason capacity |
Trade and the Market Building
The market building unlocks early, but don't let that rush you into prioritizing it. Trade requires a surplus, and in your first couple of years you don't have one. Get food storage, firewood, and housing stable first. The market pays off once your colony can reliably produce more of something than it consumes.
For exports, processed goods beat raw materials almost every time. Planks, tools, and preserved food fetch better prices than logs or grain. Hoard anything you're still struggling to produce locally — ore, medicinal herbs, and clay are common gaps depending on your map.
Where trade genuinely earns its keep is as a patch for resource shortages you can't fix quickly. No clay deposits nearby? Buy bricks. Short on iron? Import it while you sort out your mining operation. It won't solve structural problems permanently, but it buys time, and time is exactly what a struggling mid-game colony needs. Don't sleep on it once your economy stabilizes.
Common Mid-Game Crises and How to Prevent Them
Most mid-game collapses trace back to one of four problems, and they all share a common thread: you didn't see them coming soon enough.
Wood is the worst offender. Construction and fuel compete for the same supply, and once demand outpaces your choppers, everything slows — buildings stall, firewood drops, villagers get cold, productivity tanks. The fix is always more woodcutters than you think you need, placed before the shortage hits.
Disease follows overcrowding and contaminated water. Build your clinic and a clean well before you actually need them — a sick village spreads illness faster than a single clinic can handle it.
Population plateaus are usually a housing or happiness issue, not a food one. Check the needs panel, find the lowest score, fix that first.
The school bottleneck is subtle. Education takes years to cycle through, so villagers who aren't assigned to school now won't contribute skilled labor for a long time. Start earlier than feels necessary.
Late-Game Optimization and What Endgame Actually Looks Like
Farthest Frontier doesn't have a win screen. You set the goalposts yourself — surviving your first brutal winter, hitting 150 villagers, building a fully self-sufficient economy, or just seeing how high a raid difficulty you can absorb. That open-ended structure is a feature, not an oversight.
Labor efficiency becomes your main puzzle late. Every building has a worker slot, and over-assigning is just as damaging as under-assigning. Audit your production chains periodically: a fully staffed sawmill producing lumber nobody's using is just labor you've pulled away from somewhere that actually needs it.
Roads matter more than most players realize until they see the difference. Villagers walk to work, to storage, to the market — constantly. A proper road network connecting your key production buildings and depots visibly speeds up those trips and reduces the weird bottlenecks where goods pile up in one corner while another district runs short. Build roads early on your main arteries, not as an afterthought once pathing problems are already slowing everything down.
FAQ
What's the best starting location? Flat terrain near a river with mixed forest gives you the best start. Avoid maps where your clay or stone deposits are far from your initial settlement. How do I stop villagers from starving in winter? Build a root cellar early and overstock it in autumn. Foragers alone won't carry you through a hard winter. Does crop rotation matter? Yes. Ignoring soil fertility catches up with you around year four or five when yields crater. How do raids scale? They escalate continuously. They don't stop, but you can manage timing through the raid settings at map creation. Fastest path to Tier 2? Stable food, 15+ housing, and enough wood stock. Rushing it before those are solid stalls most players. Why isn't my population growing? Usually happiness or a missing need like entertainment or faith. Check individual villager panels. How many soldiers do I need? Around five to eight for early raids. Scale up as raid strength increases. Can villagers die of cold with firewood stored?
